Are you wondering how to keep your vehicle running smoothly despite the freezing temperatures and challenging road conditions of winter?
This may seem to be a no-brainer for people who are already used to work with their vehicles and have been driving for quite some time now, but if you’re someone who’s new to having a car, you may be clueless on how to do so.
The good news is that we’re ready to help you with that and we have compiled a detailed blog for you to read on!
This guide on winter car maintenance will provide you with simple, yet essential tips to prepare your car for the cold months ahead.
Key Takeaways
- Winterizing your car is essential for safety and reliability in cold weather, requiring tire pressure checks, battery health inspections, and antifreeze level tests.
- Essential maintenance for winter driving includes replacing windshield wipers for better visibility, maintaining proper fluid levels for vehicle performance, and inspecting belts and hoses to prevent failures in cold conditions.
- Preparing for winter emergencies involves assembling a safety kit, learning how to drive in snow and ice, and planning for roadside assistance. Also, caring for your car’s exterior with regular washing and waxing is crucial to protect it from rust and corrosion.
Preparing Your Car for Winter Weather
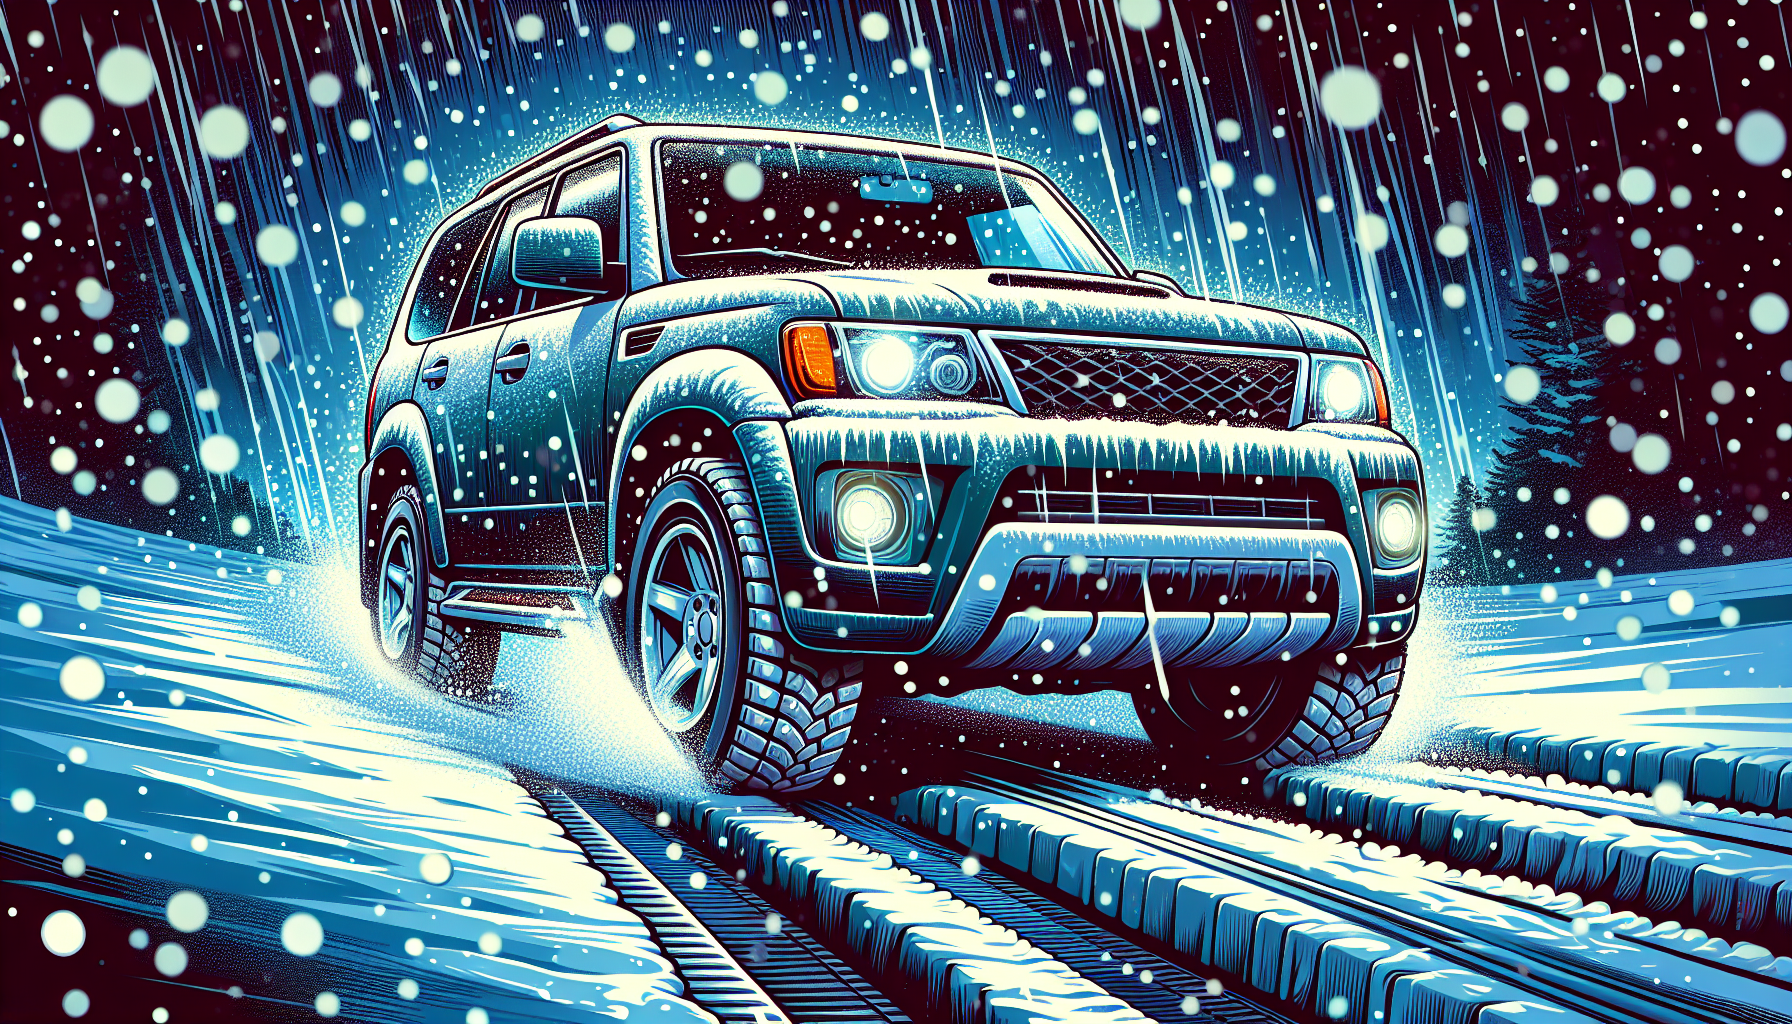
Preparing your car for winter weather is crucial to ensure it can handle the challenges of winter road conditions, and cold weather performance. But as someone who is a total novice when it comes to cars, this can be a challenging factor.
What you need to keep in mind first is that you need to know your vehicle manufacturer’s recommended maintenance process; each and every make and model will require a slightly different way when it comes to maintaining some parts of your car, like the engine, so this part is essential.
Assuming you already know it, here are some of the general steps you need to do in order to perform a winter car maintenance.
Inspect Tires and Adjust Pressure
Let’s start from the ground up – your tires. Ensuring that your tires are adequately inflated with the right air pressure and have enough tread depth is crucial for better traction and safety during winter driving conditions.
Inspecting your tires is a crucial step in winter car maintenance to ensure safety and performance. Here’s a detailed step-by-step procedure to follow:
- Check Tread Depth: Use a tread depth gauge or the penny test to measure the tread depth. Insert a penny into the tread groove with Lincoln’s head upside down. If you can see the top of Lincoln’s head, the tread is too worn and the tire needs replacing. For safety, the recommended minimum tread depth is 2/32 of an inch.
- Examine Tread Wear Patterns: Look for uneven tread wear, which might indicate alignment issues, improper inflation, or problems with suspension parts. If the tread is more worn on the inside or outside, consider having your car’s alignment checked. If the center tread is excessively worn, your tires might be overinflated; if the outer edges are worn, they might be underinflated.
- Inspect for Damage: Check the sidewalls for cuts, bulges, or other damage that could lead to a blowout. If you find any such damage, the tire should be replaced as it may be unsafe to drive on.
- Test Tire Pressure: Use a reliable tire pressure gauge to test the pressure when tires are cold (not driven on for at least three hours). Inflate the tires to the manufacturer’s recommended pressure, which can be found in the owner’s manual or on a sticker inside the driver’s door.
- Check Tire Age: Look at the tire’s sidewall for the DOT code to find the tire’s age. The last four digits represent the week and year the tire was made. For instance, “3217” indicates the tire was manufactured in the 32nd week of 2017. Most manufacturers recommend replacing tires every six years, regardless of tread depth, due to the breakdown of rubber compounds.
- Rotate Tires Regularly: Tire rotation should be performed as recommended by the vehicle manufacturer, typically every 5,000 to 8,000 miles, to ensure even tread wear and extend tire life.
- Balance and Align Tires: If you notice a vibration while driving or uneven tread wear, have your tires balanced and aligned. This will help maintain even tread wear and improve vehicle handling.
By following these steps, you can identify issues with your tires and take the necessary actions to ensure they are in good condition for winter driving. Always address any tire issues promptly to maintain safety and performance.
Check Battery Health
Moving onto the heart of your car – the battery. The last thing you’d want in the midst of a winter drive is a dead battery. Identifying a weak or failing car battery is integral to ensuring reliable performance. Symptoms such as:
- a clicking sound when starting the car
- a slow engine crank
- electrical component issues
- an illuminated car battery warning light on the dashboard
can indicate a weak or failing car battery.
It’s advisable to regularly test your car battery, especially if it’s over four years old. Consider doing so twice a year for continued dependability. Cold temperatures can significantly decrease battery power, necessitating a battery with the recommended Cold Cranking Amps (CCA) of 600 or above for optimal performance. Additionally, keep your battery clean and free of corrosion to prevent car breakdowns, especially during the winter months.
Test Antifreeze Levels
Now, let’s turn our attention to the lifeblood of your engine – the antifreeze or coolant.
The antifreeze in your vehicle is essential for preventing the water in your engine’s cooling system from freezing in cold weather. Here’s how to check your antifreeze levels step by step:
- Locate the Coolant Reservoir: Find the coolant reservoir under the hood; it’s usually a translucent plastic container with a label or symbols indicating it’s for coolant.
- Check the Coolant Level: Look at the side of the reservoir to check the coolant level. There will typically be “full” and “low” level marks. If the coolant is below the “low” mark, you’ll need to add more.
- Inspect the Coolant Condition: Check the color of the coolant. It should be bright and clear. If it’s discolored or contains particles, it might be time for a coolant flush and replacement.
- Add Coolant if Necessary: If the levels are low, add the correct type of antifreeze to the reservoir to bring it up to the proper level. Be sure to use the type recommended by your vehicle’s manufacturer.
- Check for Leaks: After filling, briefly run your engine and check for leaks. Any leaks could indicate a problem with the cooling system that should be addressed immediately.
- Screw the Cap Back On Securely: Once you’ve finished checking and adding coolant, make sure to replace the cap on the reservoir securely to prevent any spillage or evaporation.
By regularly monitoring and maintaining your vehicle’s antifreeze levels, you can help ensure that your engine is protected against freezing temperatures and overheating.
Essential Maintenance Tasks for Winter Driving
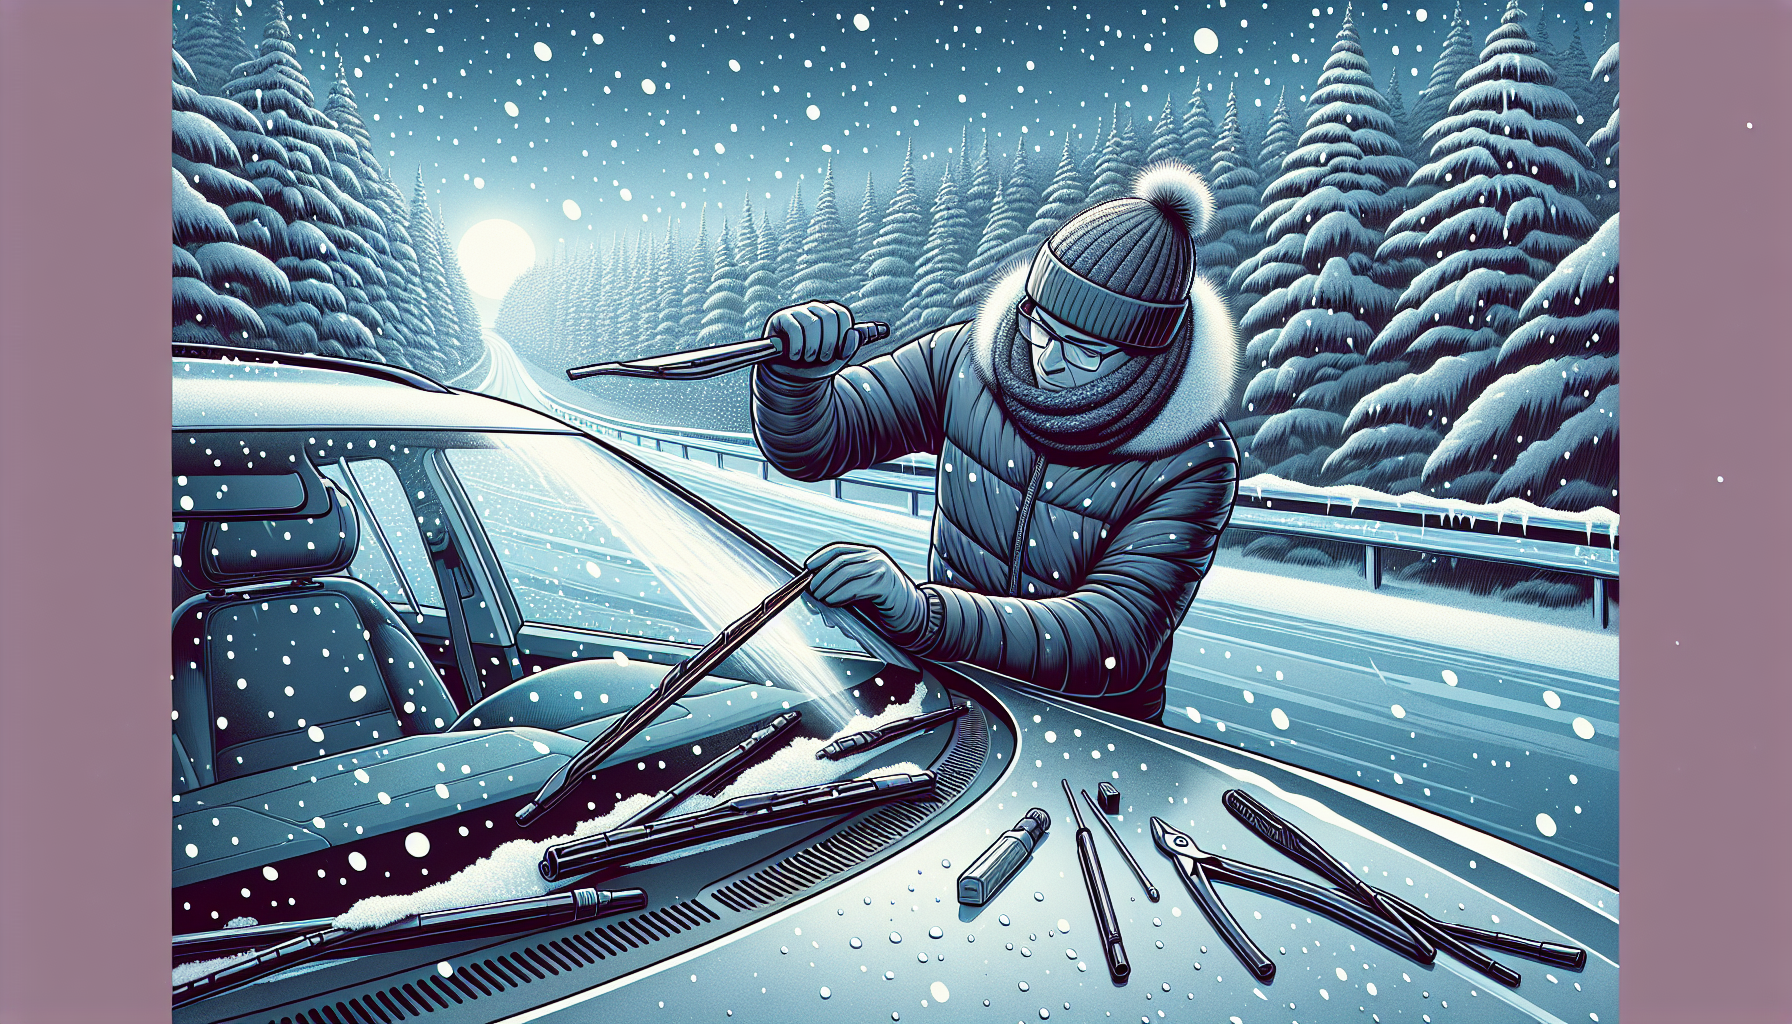
Consistent winter car care, including servicing spark plugs and inspecting engine air filters, as well as cabin air filter, can improve fuel efficiency and prevent engine strain during the cold times.
Changing the engine air filter every 30,000 to 45,000 miles ensures the engine does not run hot and operates efficiently.
These tasks may seem like a lot, but the payoff is well worth the effort. Not only will your vehicle perform better under winter conditions, but you’ll also avoid costly repairs in the long run.
Replace Windshield Wipers
Visibility is key when driving in winter conditions, and your windshield wipers play a major role in this.
Your windshield wipers are frontline defenders against the snow, sleet, and ice that can impair it. Here’s a step-by-step guide to ensure your wipers are ready for winter:
- Evaluate Wiper Blades: Check your current wiper blades for signs of wear such as cracks, tears, or missing pieces. If the rubber is hard or chattering across the windshield, it’s time for them to be replaced.
- Choose the Right Blades: Opt for winter or all-season wiper blades. Winter blades are encased in a protective rubber boot to prevent ice and snow buildup.
- Remove Old Wiper Blades: Lift the wiper arm away from the windshield and press the small tab underneath the wiper where it meets the wiper arm. Slide the blade off by pulling downward.
- Attach New Wiper Blades: Align the new blade with the arm, and slide it into place until you hear a click, which indicates the blade is secured.
- Test the Wipers: After installation, turn on the wipers to ensure they are working correctly and making full contact with the windshield without any streaks or skips.
- Consider Wiper Fluid: Use a windshield washer fluid with de-icer to help melt away ice and reduce the work your wipers have to do. Check the reservoir and fill it up if needed.
- Regular Maintenance: Throughout the winter, regularly clean off any ice or snow from the wiper blades before using them. This can prevent damage to the blades and ensure they perform optimally.
By following these steps, you can help maintain clear visibility during winter conditions and enhance your safety on the road.
Maintain Proper Fluids
Fluids are the lifeblood of your car, and maintaining them is crucial for optimal performance. Low-viscosity engine oils, such as 0W-20 or 5W-30, are preferable for winter as they pour more effectively at low temperatures, aiding quicker engine starts and optimal performance in the cold.
Regular checks of brake fluid are vital, as low levels can lead to decreased braking efficiency, which is especially hazardous on icy winter roads. Additionally, replacing your oil filter ensures that your engine oil remains clean and free of debris. Don’t forget to check your windshield wiper fluid, as it plays a significant role in maintaining visibility during winter months.
It’s recommended to inspect the following levels regularly:
- Oil
- Coolant
- Brake fluid
- Transmission fluid
- Power steering fluid
Check these levels monthly, or every few gas fill-ups, and before embarking on longer trips. In winter conditions, make sure to check the power steering fluid for proper fluidity, as it can thicken and impact steering control and safety.
Inspect Belts and Hoses
The belts and hoses in your vehicle are like the veins and arteries in your body – they keep everything running smoothly. To ensure your serpentine belt is in top shape for the cold season, follow this detailed step-by-step inspection procedure:
- Locate the Serpentine Belt: Open the hood and locate the serpentine belt. The belt is usually on the front of the engine and winds around various pulleys.
- Inspect Belt Tension: Press down on the belt with moderate force. The belt should have some give, but not more than half an inch of play. If it’s too loose or too tight, tension adjustments may be necessary or it might indicate wear on the tensioner.
- Examine for Visible Damage: Look for signs of wear such as cracks, fraying, or splits on the belt’s surface. Small cracks are normal as the belt ages, but deep or numerous cracks indicate it’s time for a replacement.
- Check for Glazing and Pilling: A shiny or glazed appearance on the belt’s surface can be a sign of slippage, while pilling (small pieces of the belt creating bumps) can indicate misalignment or deterioration.
- Listen for Noises: Start the engine and listen for any squealing or chirping sounds. These noises can be a sign of a worn belt or misaligned pulleys.
- Assess Pulley Condition: Inspect the pulleys for any damage or debris that could affect the belt’s performance. Clean off any dirt or residue.
- Check Alignment: Look at the belt in relation to the pulleys to ensure it is seated properly and running straight.
- Replace if Damaged: If you’ve found any damage or signs of excessive wear during your inspection, replace the serpentine belt to avoid potential failures in cold weather.
By following these steps, you can identify any issues with your serpentine belt and take the necessary actions to ensure it is in good condition for winter driving. Always address any belt issues promptly to maintain safety and performance.
Caring for Your Car’s Exterior in Winter
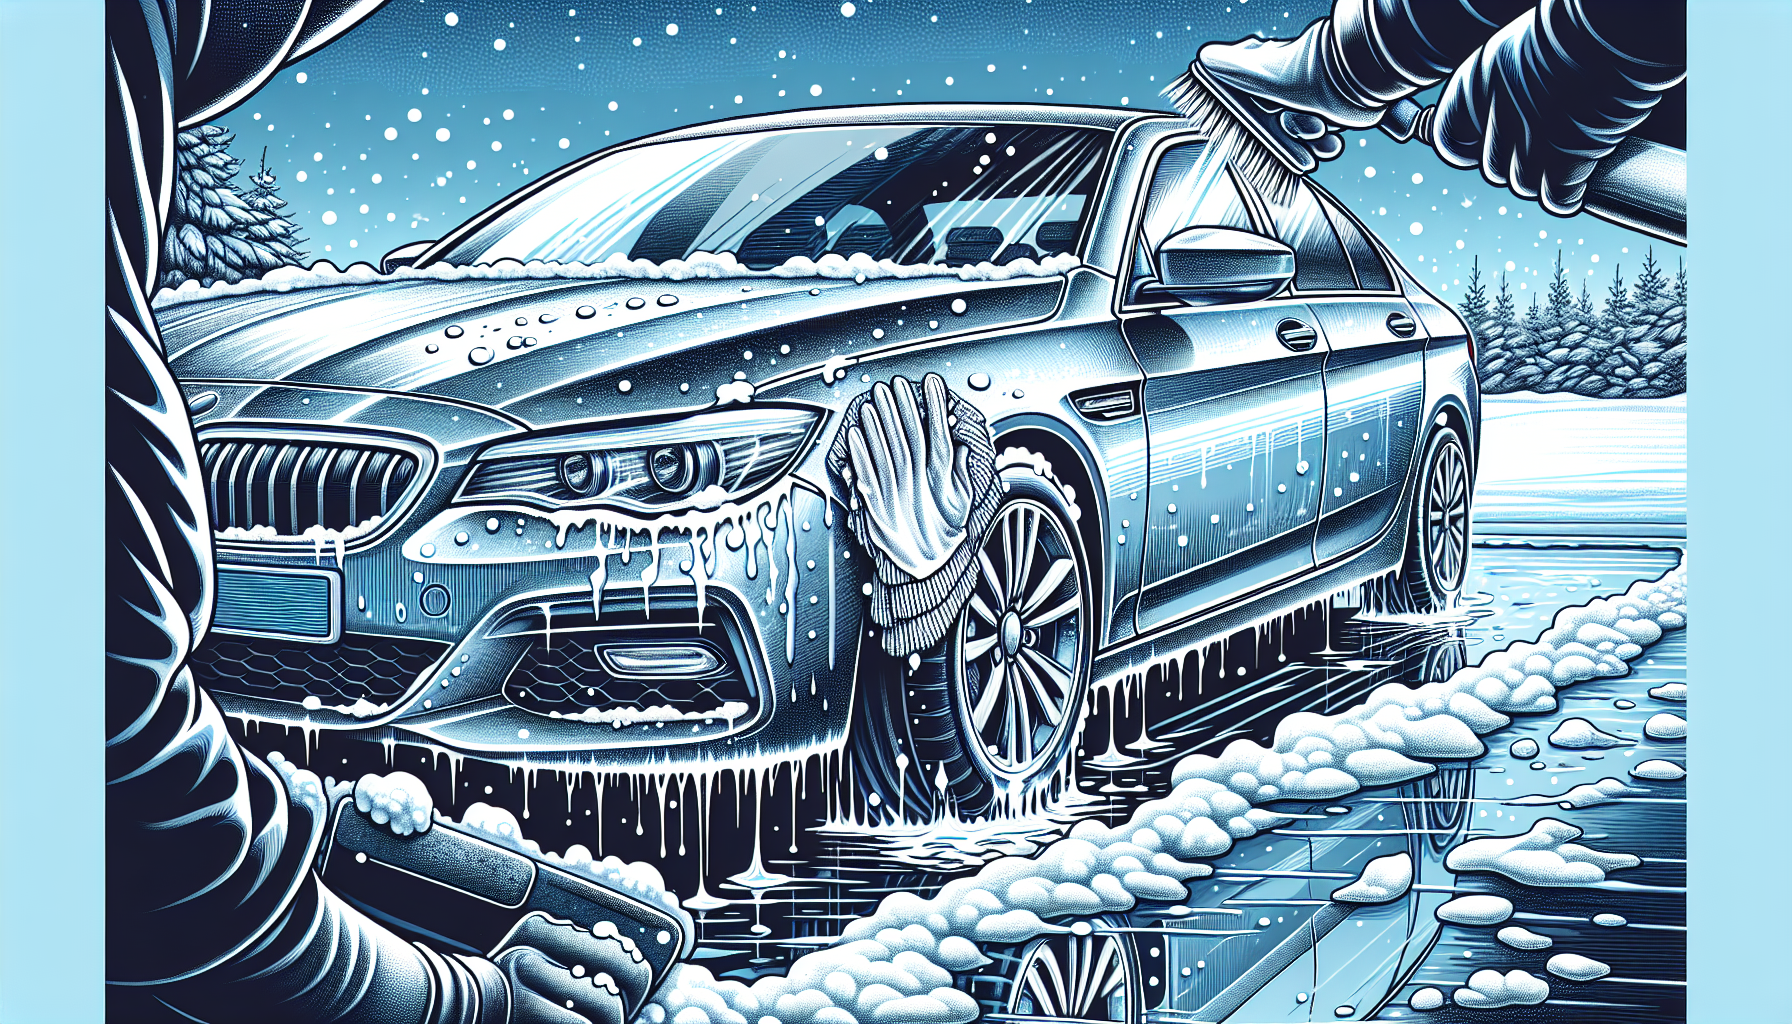
Mitigating rust and corrosion through routine maintenance in winter is essential due to the damage caused by road salt and ice.
Maintaining the vehicle’s exterior during winter supports its value and protects the owner’s investment from depreciation related to weather conditions. Waxing the car forms a protective seal, keeping the paint in good condition and reducing the likelihood of rust during winter months.
Wash and Wax Regularly
Winter can be harsh on your car’s exterior, but regular washing and waxing can keep it looking its best. Regular car washes during winter months are essential for removing road salt, which can cause rust and corrosion on the vehicle.
After washing, applying a sealant, wax, or ceramic coating to your car can provide an additional layer of protection against corrosive damage during cold months. Remember, the best time to wash and wax your car in winter is on a day with mild temperatures between 45-60 degrees Fahrenheit, ensuring the cleaning and drying processes are most effective.
Protect Door Seals and Locks
Last, but certainly not least, let’s talk about your car’s door seals and locks. Silicone spray lubricant is recommended for treating door seals to repel water, resist dirt contamination, and ensure functionality in extreme temperatures ranging from -100 to 500 degrees Fahrenheit.
Applying a thin layer of beeswax to the paint that contacts the rubber seals can effectively prevent doors from freezing shut in cold weather. You can also use talcum powder to maintain the condition of rubber seals. It’s recommended to wipe them down with talcum every six months.
Summary
In conclusion, winter car maintenance doesn’t have to be daunting. With the right knowledge and a little bit of effort, you can ensure that your vehicle stays in top shape throughout the winter months, keeping you safe and your car running smoothly. Remember, prevention is always better than cure, especially when it comes to your vehicle. Stay safe and enjoy the ride this winter!
Frequently Asked Questions
Is it worth doing your own car maintenance?
Yes, it’s worth doing your own car maintenance as it can save you money in the long run by avoiding expensive professional mechanic labor costs. Instead, you’ll only be paying for parts and tools, leading to significant savings over time.
What does winterizing a car include?
Winterizing a car involves tasks such as inspecting tires, fixing tire pressure, testing the battery, changing the oil, adding proper coolant, and checking belts and hoses. It’s also important to have an emergency kit, test the battery, and protect the car from winter damage, such as ice and salt.
How often should you start a sitting car in the winter?
In the winter, it’s advisable to start a sitting car at least once a week and let it run for ten to fifteen minutes to maintain engine health.
Do I need to do anything to my car for winter?
To prepare your car for winter, check the antifreeze and windshield wiper fluid levels, and consider using a winter-specific fluid with de-icer. Additionally, make sure your tires have sufficient tread and air pressure. These steps can help ensure your safety and prevent car troubles during winter driving.
How often should I check my tire pressure in winter?
It’s important to check your tire pressure every month and before long trips or carrying extra loads, particularly in colder months when tires can lose pressure more rapidly.

 UNITED STATES
