 UNITED STATES


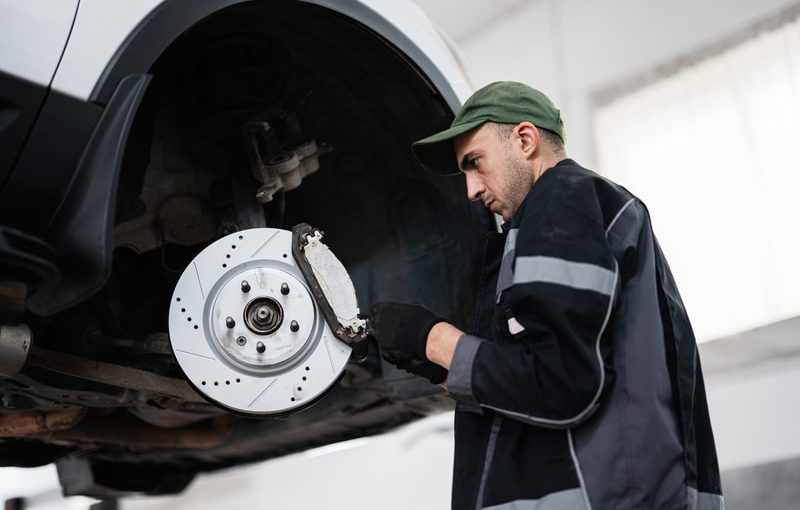
You install new pads and rotors, torque everything to spec, pump the pedal, and hand the keys back. Customer drives off. Three days later, they’re on the phone complaining about vibration, noise, or a soft pedal.
You pull the car back in, and the rotors already have dark spots. The pads look uneven. And you’re eating labor on a comeback that shouldn’t exist.
Nine times out of ten, this is a break-in problem. The pads weren’t bedded correctly, and the friction surface never transferred properly to the rotor. It takes five minutes to do right. Skipping it creates hours of diagnostic work and wasted parts.
Why Break-In Matters (The Science in 60 Seconds)
Ceramic pads use adherent friction. During break-in, the pad deposits a thin, even layer of friction material onto the rotor surface. If that transfer film develops unevenly, you get hot spots, inconsistent friction, and pulsation.
Semi-metallic pads use abrasive friction. Break-in seats the pad surface against the rotor and establishes a consistent contact pattern.
In both cases, the break-in also burns off residual gases and volatile compounds from manufacturing. If those don’t burn off in a controlled way during bedding, they’ll cause green fade during normal driving.
The Standard Break-In Procedure
Step 1: Verify the installation. Pump the brake pedal several times to seat the pads. Confirm a firm pedal. Check for dragging or abnormal noise at very low speed.
Step 2: Perform 8 to 10 moderate stops. From approximately 35 mph, apply moderate brake pressure (about 60-70% of full force) to slow to about 10 mph. Do not come to a complete stop.
Step 3: Perform 2 to 3 slightly more aggressive stops. From approximately 45 mph, apply firmer pressure (about 80% of full force) to slow to about 15 mph. Avoid a complete stop.
Step 4: Cool down. Drive at moderate speed for 2 to 3 minutes without heavy braking.
Step 5: Avoid sitting on the brake. This is the part that matters most. After bedding stops, do not sit at a stoplight or parking spot with the brake pedal pressed. Hot pads clamped against a stationary rotor deposit a thick, uneven patch of friction material. That deposit creates a high spot you’ll feel as pulsation within the first week.
Adjustments by Pad Type
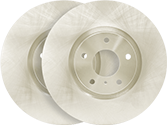
Ceramic Pads
The standard procedure above is designed primarily for ceramic formulations. Pay special attention to Step 5. For premium vehicle-specific pads like DFC 5000 Advanced, the transfer film develops more predictably because the friction compound is matched to the specific rotor.
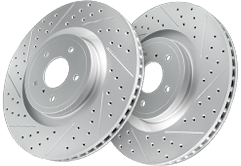
Semi-Metallic Pads
Semi-metallic pads can handle slightly more aggressive break-in. Increase starting speed to 40 mph and apply slightly more pressure. For DFC Heavy Duty or DFC Ultimate Duty Performance pads, break-in is especially important because the first towing session shouldn’t be the uncontrolled break-in.
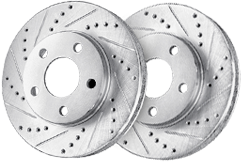
Performance Pads
DFC Active Performance pads are formulated for higher operating temperatures. From 50 to 60 mph, perform 8 to 10 progressively harder stops with 30 seconds between each. The final 2 to 3 stops should briefly activate ABS. Then do a 5-minute cool-down lap.
Police / Pursuit Pads
DFC Police pads are AMECA certified for pursuit-rated applications. Follow the performance procedure, then add 3 to 4 stops from 60 mph with firm braking.
The Post-Curing Advantage
Without post-curing: The first few hundred miles become the final curing stage. Inconsistent friction, more noise during break-in, and longer time before optimal performance.
With post-curing: Break-in is shorter and more predictable. The transfer film develops more evenly.
DFC post-cures 100% of its brake pads across every product line.
What Happens When Break-In Goes Wrong
Pad imprinting / material deposits. Dark spots on the rotor face from uneven pad material transfer. Causes pulsation that feels like a warped rotor. Usually from sitting on the brake with hot pads.
Glazing. The pad surface looks smooth and shiny with a blue or golden tint. The friction material was overheated without proper bedding. Light glazing can be scuffed with sandpaper and re-bedded. Heavy glazing means new pads.
Green fade. Brakes felt weak during the first few hard stops, then improved. Residual manufacturing gases pushing the pad away from the rotor. Post-cured pads virtually eliminate green fade.
Uneven wear patterns. Check that the caliper slides freely and hardware is correctly installed before blaming break-in.
The 60-Second Customer Explanation
“We’ve done the initial bedding on your new brakes, but they’ll continue to break in over the next hundred miles or so. During that time, avoid really hard braking if you can. And at red lights, try not to hold the brake pedal down hard. Light pedal pressure at stoplights is fine. The pads are still conditioning to the rotors.”
The Comeback Prevention Connection
Industry estimates suggest that improper pad bedding contributes to roughly 30% of brake-related warranty returns. Five minutes of bedding stops. Sixty seconds of customer education. Zero comebacks from break-in issues.
Find the right brake pads at dynamicfriction.com. Every DFC pad is 100% post-cured.
Break-in isn’t optional. It’s the final step of every quality brake installation.
Related: How to reduce brake job comebacks | Ceramic vs semi-metallic: a professional guide
